


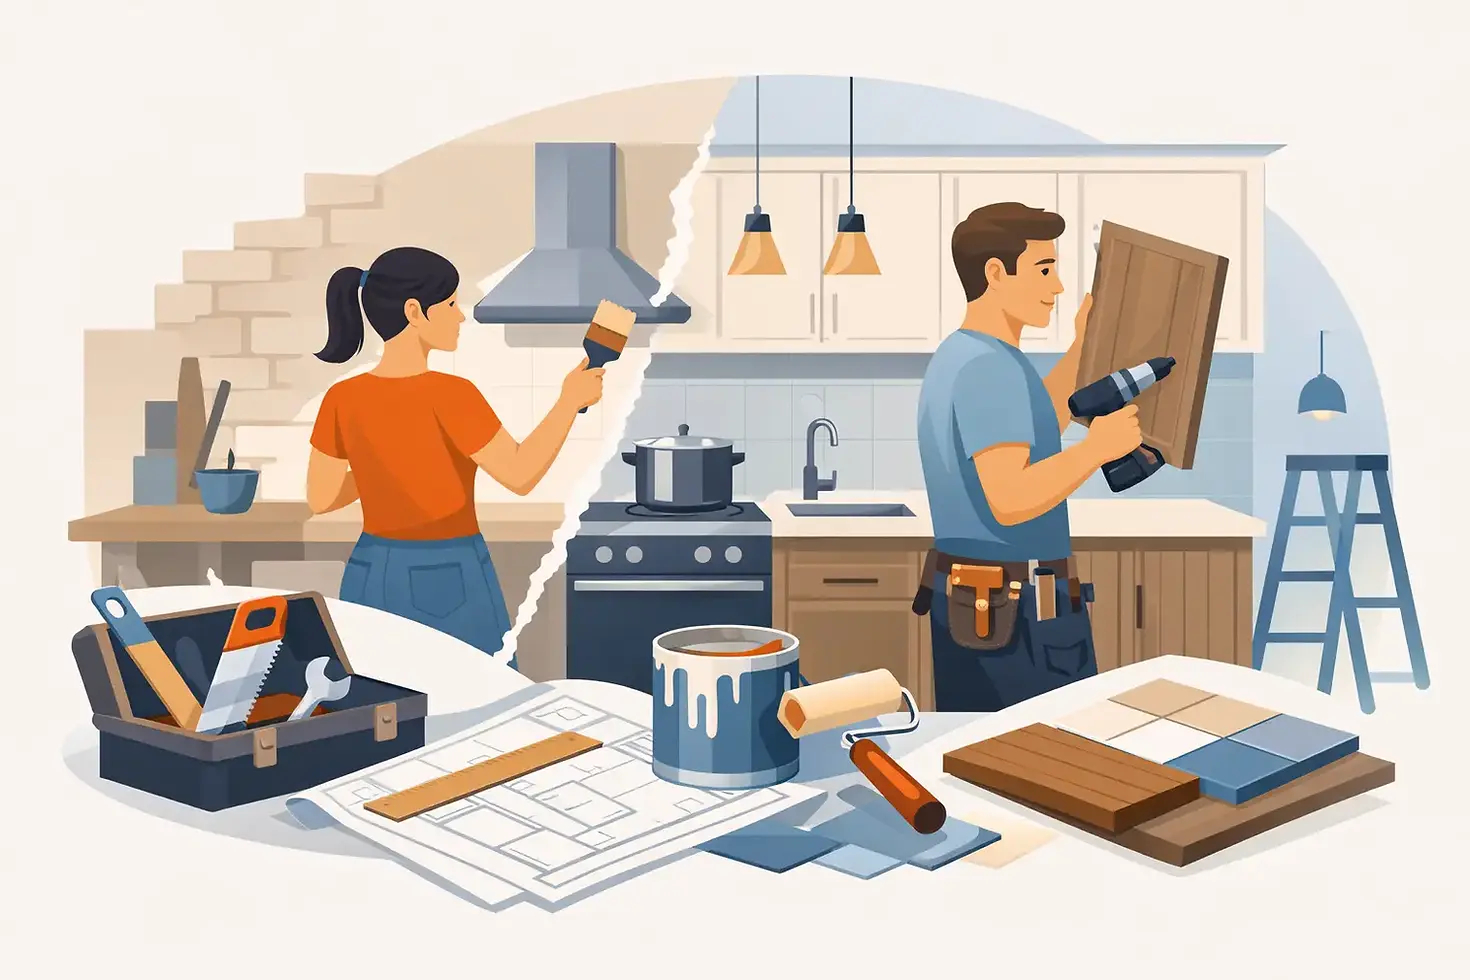
How to Remodel Kitchen DIY Without Regret

A kitchen remodel usually starts the same way - one cabinet door hangs crooked, the lighting feels dim, the layout annoys you every morning, and suddenly you are pricing tile at midnight. If you are researching how to remodel kitchen diy, the real question is not whether you can do parts of it yourself. It is how far you should go before quality, schedule, or resale value starts to slip.
For many homeowners, the best DIY kitchen remodel is not the one where you do everything alone. It is the one where you take on the right tasks, avoid expensive mistakes, and make choices that still feel current five or ten years from now. A beautiful kitchen is part craftsmanship, part planning, and part restraint.
How to remodel kitchen DIY starts with scope
Before you demo anything, decide what kind of remodel you are actually doing. That sounds obvious, but this is where budgets get blown. Homeowners often start with cosmetic updates and slowly drift into plumbing moves, electrical upgrades, and structural surprises.
If your current layout works, a DIY remodel is far more realistic. Keeping the sink, range, and dishwasher in the same locations can save a substantial amount on labor and materials. Painting cabinets, replacing hardware, updating lighting, installing a backsplash, changing countertops, and swapping flooring are all very different from moving walls or relocating gas lines.
Be honest about your goal. Are you improving function for a busy family kitchen, refreshing a dated home before resale, or investing in a more custom look you plan to enjoy for years? Each goal changes where your money should go. A resale-focused update might favor durable quartz, neutral finishes, and better lighting. A long-term personal kitchen may justify custom storage, higher-end appliances, and layered materials.
Set a budget that includes the unglamorous costs
Most DIY remodel budgets fail because they focus on visible finishes and ignore everything behind them. Cabinets, counters, and tile get all the attention. Fasteners, trim, drywall repair, disposal fees, tool rentals, permits, and replacement parts quietly pile up.
Build your budget in three layers. The first is fixed essentials like cabinetry, appliances, flooring, lighting, and paint. The second is installation materials such as underlayment, adhesive, caulk, primer, and electrical boxes. The third is contingency money. In an older home, especially, you should expect hidden issues once walls or floors are opened.
A practical rule is to hold back 15 to 20 percent for surprises. If you never use it, great. If you discover water damage around a sink base or outdated wiring behind a backsplash, that reserve keeps the project moving.
Plan the layout before the finishes
A lot of homeowners choose colors and tile patterns first. It is more satisfying, but it is backward. Function has to lead. Your kitchen works hardest in its clearances, storage zones, and task flow.
Think about how you move through the space. Where do groceries land when you walk in? Is there enough landing space beside the range? Can the dishwasher open without blocking everything else? Are trash and recycling close to prep areas? Small layout decisions shape daily use more than any countertop edge profile ever will.
If you are keeping the same footprint, measure everything carefully and confirm appliance dimensions before ordering cabinets. If you are changing the footprint, know that DIY gets more complicated fast. Electrical, plumbing, ventilation, and permitting all need to line up, and mistakes there are costly. This is often where homeowners realize they need professional support, even if they still handle finishes themselves.
Where DIY usually makes sense
Cosmetic and finish work is where capable homeowners can create real value. Painting walls and even painting cabinets can work if prep is meticulous. Installing hardware, assembling flat-pack cabinetry, replacing a faucet, laying some flooring types, and adding a backsplash are all realistic for many people with patience and the right tools.
The catch is that kitchens are unforgiving. Uneven tile lines, poorly prepped cabinet paint, bad cuts around outlets, or sloppy trim work are immediately visible. In a main living space, those details matter.
Where DIY usually stops making sense
Electrical work, plumbing relocations, gas connections, ventilation, and anything structural carry more risk. Even when code allows certain homeowner-performed work, the standard still has to be high. A kitchen is too valuable a space to treat as a practice zone for critical systems.
There is also a schedule cost. What takes a certified trade one day can take a homeowner three weekends. If your family is living through the remodel, that delay has a real quality-of-life price.
Demolition should be controlled, not dramatic
Demo looks fast online because the cleanup is edited out. In real homes, careful demolition protects what you plan to keep and prevents unnecessary repairs.
Turn off utilities, protect adjacent rooms, and remove materials in a sequence that makes cleanup manageable. If cabinets are coming out but flooring is staying, work gently. If appliances are being reused, store them safely. Label shutoffs, save installation instructions, and keep all hardware organized.
Older kitchens may also contain surprises that change the plan. Uneven subfloors, previous water damage, hidden patches, and out-of-date wiring are common. This is one reason experienced renovation teams build schedules around discovery, not wishful thinking.
Cabinets, counters, and storage choices matter most
If the budget only allows a few upgrades, put them where they will improve daily life. Cabinets are the backbone of the kitchen. Good storage design can make a modest kitchen feel significantly more custom.
Refacing or painting existing cabinets can work if the boxes are solid and the layout is efficient. If doors are warped, drawers are failing, or storage is poorly designed, replacement may be the smarter investment. Soft-close hardware, deeper drawers, and pantry pull-outs often do more for function than decorative add-ons.
Countertops are a similar decision point. Butcher block is warm and approachable for DIY, but it needs maintenance. Laminate has improved, though seams and edge quality still matter. Quartz is durable and polished, but usually best templated and installed by specialists. The right choice depends on how you cook, how much upkeep you want, and whether this is a short-term refresh or a lasting upgrade.
Lighting is the upgrade people underestimate
A kitchen can have premium finishes and still feel disappointing if the lighting is wrong. Good lighting makes the room look cleaner, brighter, and more expensive.
Layer it. Ambient light covers the room overall. Task lighting supports prep and cooking areas. Accent lighting adds depth, especially under cabinets or inside glass-front storage. If you only replace one thing during a DIY remodel, lighting deserves serious consideration because it changes both function and atmosphere immediately.
Choose fixtures that suit the scale of the room and the finish palette, but keep practicality in view. Statement pendants are great until they block sightlines or cast awkward shadows.
Materials should be stylish, but not fragile
The best kitchens balance current design with staying power. Trend-forward choices are not the problem. Overcommitting to something that will feel dated quickly is.
That usually means using bolder elements in places that are easier to change later, such as paint, hardware, or light fixtures. For expensive and permanent materials, lean toward quality, durability, and a cleaner design language. Warm woods, textured neutrals, matte finishes, and simple tile patterns tend to age well because they support the whole space instead of trying to dominate it.
For Metro Vancouver homeowners especially, resale value often matters alongside personal taste. A kitchen should feel tailored, not overly niche.
Timing a DIY kitchen remodel realistically
Most homeowners underestimate how disruptive a kitchen remodel is. Even a smaller project affects cooking, cleaning, storage, and family routines. Build a temporary kitchen before work begins. A microwave, coffee maker, folding table, and a few organized bins can make the process much easier.
Order materials early and do not schedule trades or demo based on estimated shipping dates alone. Cabinets, appliances, and specialty fixtures often arrive later than expected, and one missing component can stall everything.
If you are coordinating multiple moving parts, this is where a professionally managed process has real value. Team Eden Project often works with homeowners who started with a DIY mindset and then decided they wanted tighter timelines, better finish quality, and a single point of accountability.
The smartest DIY remodel is the one with standards
If you want to know how to remodel kitchen DIY successfully, think less like a hobbyist and more like a project manager. Measure twice. Sequence work properly. Protect the parts of the project that affect safety, code, and long-term performance. Spend where mistakes are expensive, and save where your effort creates real value.
A kitchen is not just another room. It is one of the hardest-working spaces in the home and one of the most visible indicators of quality. If your DIY plan gives you a better kitchen without compromising craftsmanship, that is a win. If the project starts stretching beyond your time, tools, or confidence, bringing in the right experts is not giving up. It is making sure the result still feels worth it every single day.


Comments